Thursday, September 25, 2008

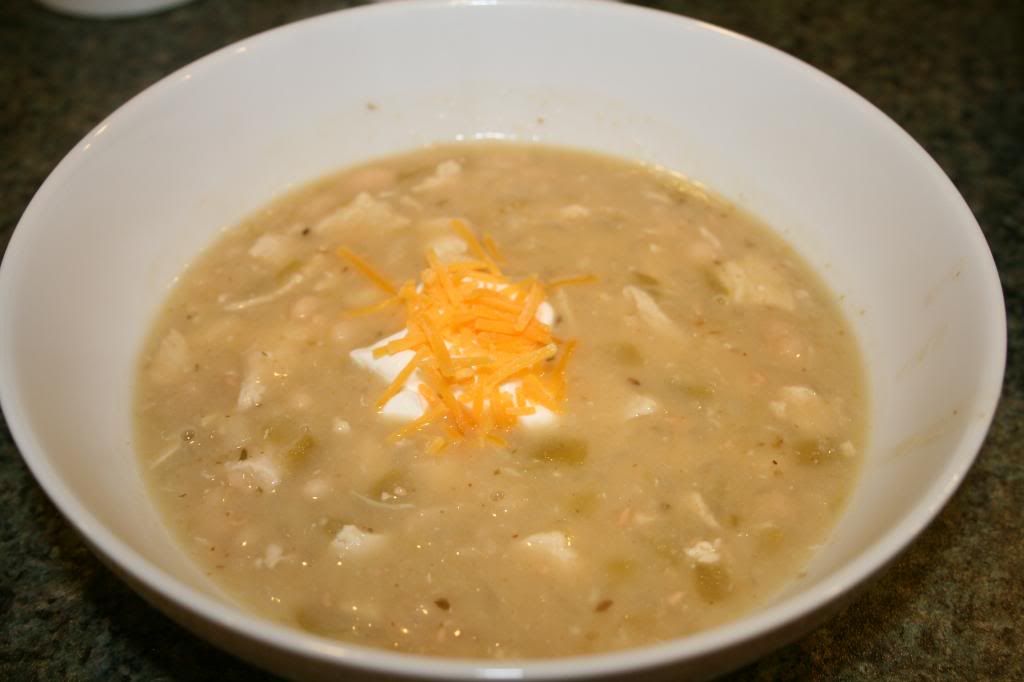
Big Carl's White Chicken Chili


Ok, so I actually made this on Monday (not that you care) to start off the "feel like home" week for Carl. I call his dad Big Carl, since they call my Carl, Little Carl. So "Big Carl's White Chicken Chili" it is! I'd say I hit the nail on the head with this one!

1 1/2 -2 pounds cooked boneless, skinless chicken- cubed (I just cook mine in a little water in a skillet)
2 14oz cans of chicken broth
1 480z can of white northern beans
2 c finely chopped whit onion
2 tbsp fresh minced garlic
1 small can chopped green chilis
2 tsp cumin (heap if you like it hot)
2 tsp oregano
1/4 tsp cayenne pepper (more if you like it hot)

Saute onions and garlic in 1 tbsp olive oil until onions are tender. Stir in the green chilis.

Mix all into big pot with the chicken. Heat until boiling, simmer for 10-15 minutes. The longer you cook it, the more tender the chicken will get.

My Notes: This is the perfect fall recipe! Drop a spoonful of sour cream and sprinkle with cheese for the ultimate flavor explosion! It makes enough to feed 6 adults easily. We had this two nights in a row and then I took the remainder to work and shared with a co-worker. He was also a huge fan. We will definitely make this again and again!

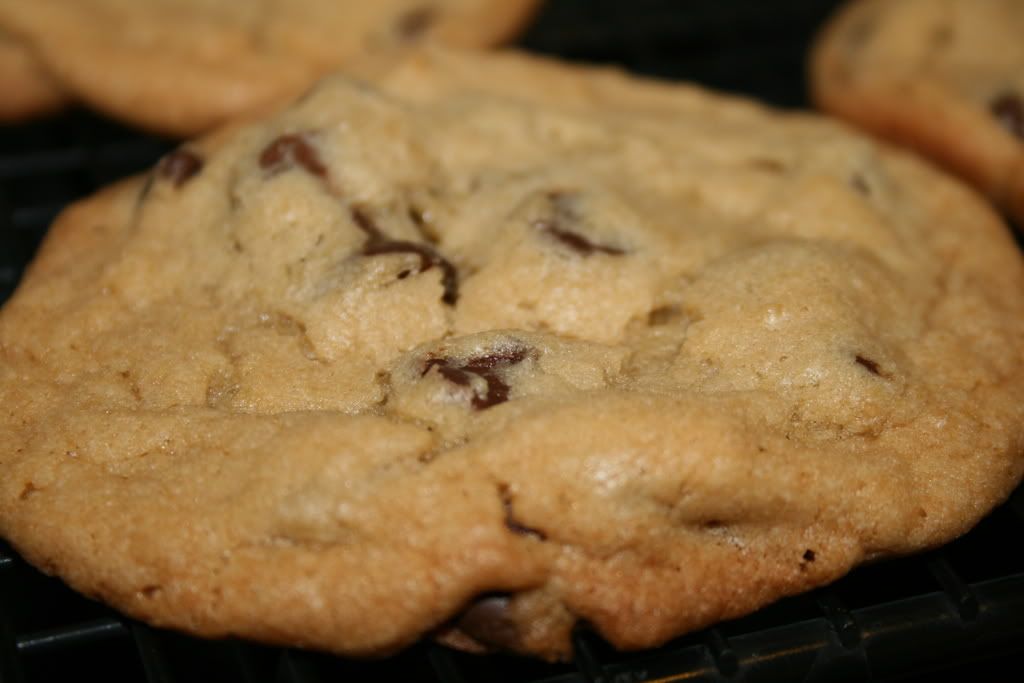
Shelly's Nomilicious Chocolate Chip Cookies


I stole this recipe right from Shelly of Loves to Nom. This is probably the best thing I've ever stolen. I am holding myself back from eating every single one over here! Anyway, I made this in honor of Shelly and Matt who are getting married on Saturday! Congrats you two!

Chocochip Cookies

Yield: 15 cookies


1. Set out a stick of unsalted butter to soften ahead of time. In a pinch you can microwave the stick very quickly (like 10 seconds) to soften it. But if you melt it, the consistency of the cookies will change.


2. Preheat the oven to 350.


3. In a large mixing bowl, with a hand/stand mixer cream together the following:


* 1 stick softened (1/2 cup) UNSALTED butter (not margarine)

* 1/4 cup granulated white sugar

* 3/4 cup packed light brown sugar

* 1 egg

* 1 1/2 teaspoons real vanilla extract (don't mess with that imitation crap)


4. In a small bowl, sift/mix together the following:


* 1 1/4 cup all-purpose flour

* 3/8 teaspoon salt (I prefer kosher for baking)

* 1/2 teaspoon baking powder

* 1/2 teaspoon baking soda


5. Slowly beat the dry ingredients into the wet.

6. Stir in about 9 ounces (3/4 of a bag) chocolate chips. I like to mix half semi sweet and half milk chocolate. I think it really 'makes' the cookie.

7. Scoop dough onto an ungreased cookie sheet. Make sure there is about 2 inches between each ball.

8. Bake for approximately 9 minutes, depending on how you like your cookies. Matt prefers his cookies on the (super) soft side. Cookies are done when the edges are lightly browned and still appear moist in the middle.

9. Take pans out and let cookies cool on the pan for 2-3 minutes. Then remove the cookies to a cooling rack, countertop, wax paper, whatever to cool completely... or at least until they are cool enough to devour with a big glass of milk! Enjoy!

My Notes: I actually had to cook mine for more like 11 minutes as opposed to 9. Remember people- ovens vary!

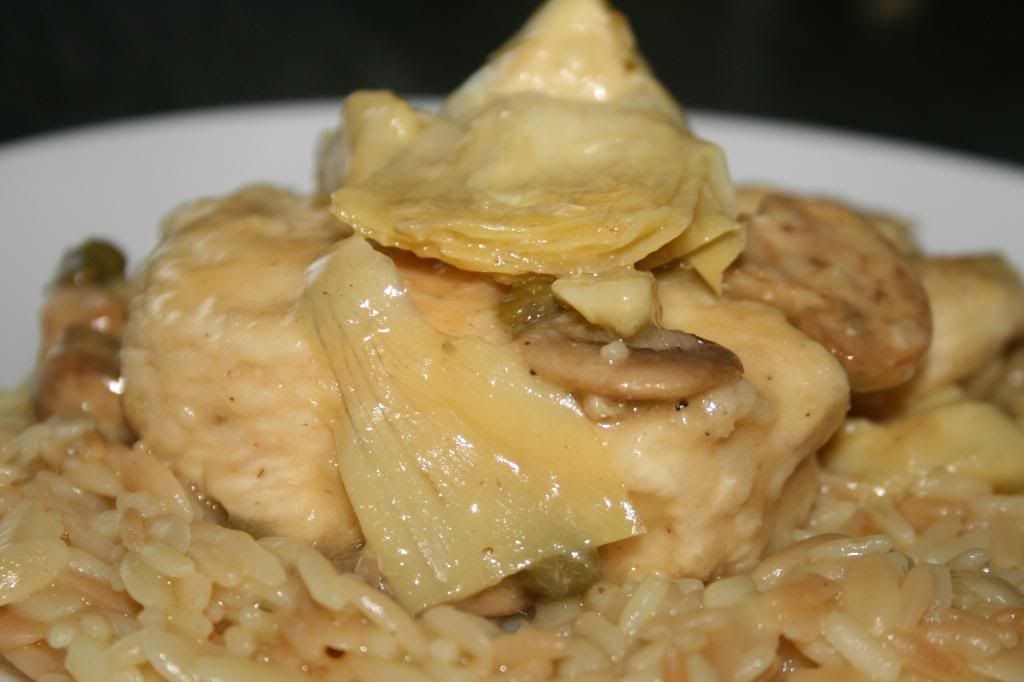
Chicken Piccata


Ok, so this week I was making Carl "feel at home" by making all the dishes he used to have at his parents' house. His dad normally cooks and so I stole all his yummy recipes!! (These are actually out of order, because I'm blogging in multiple places...and only have certain recipes here)

Wednesday's Meal: Chicken Piccata

So- apparently somewhere between my in-law's place and ours, I lost my instructions...so I just kind of put this together by looking at a couple recipes from Food Network and All Recipes that reminded me of what my father-in-law said. It turned out fabulous if I do say so myself though!

INGREDIENTS

-1 cup all-purpose flour
-1/2 teaspoon paprika
-1 pound skinless, boneless chicken breast halves - cut into thin square-like -1/4 cup olive oil
-1/4 cup lemon juice
-1/2 cup chicken stock-
1/2 cup white cooking wine
-1/2 teaspoon garlic powder
-1 (14 ounce) can artichoke hearts, drained and quartered
- 1 small can of mushrooms
-2 tsp capers


DIRECTIONS

1. In a shallow bowl, mix together flour, paprika, and salt and pepper. Dredge chicken pieces in the seasoned flour.
2. Heat oil in a large skillet over medium heat, and saute chicken until light golden brown (about 2 minutes each side). Remove chicken from skillet, and set aside.
3. To skillet, add mushrooms, lemon juice, wine and chicken stock. Simmer until a smooth, light sauce develops. Season with garlic powder. Return chicken to the skillet, and simmer until chicken is no longer pink and juices run clear. Stir in artichoke hearts and capers, simmer for about 2 minutes. Remove from heat and enjoy!

Notes: This easily will feed 4 people. I served it over a bed of rice pilaf which is the perfect complimentary dish! I plan on just having the leftovers for dinner tonight. Super delicious. And when I said to Carl- it's good, but it's not like your dads. He said- yeah, but I think it's better! Woo HOO for me!

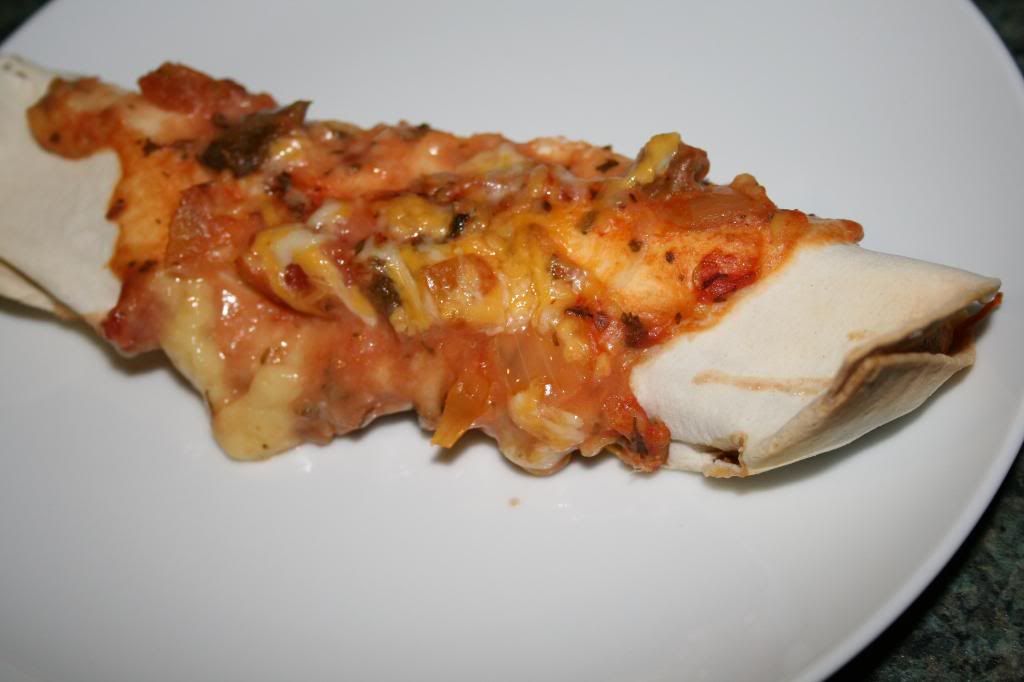
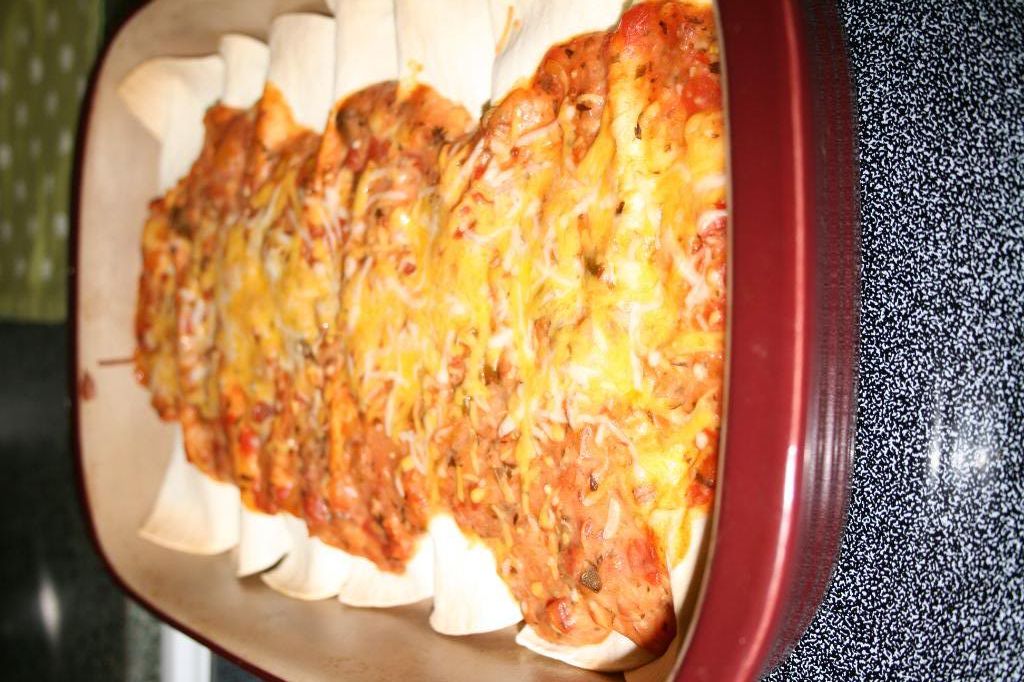
My Own Easy Beef Enchiladas


I could eat Mexican pretty much every night, seriously. But that would make for a boring blog, so I have to mix it up occasionally. Luckily though, I haven't blogged these bad boys yet, so now...for your viewing (and perhaps one day eating) pleasure, behold: MY SUPER EASY BEEF ENCHILADAS!

Ingredients:
1 lb ground beef
1 packet taco seasoning (I always use Ortega)
1 cup cooked white rice (yes that says cooked. I'm not explaining how to cook it, just do it now)
1 can refried beans (not warmed!)
1 can cream of chicken soup
1 jar of salsa
10-12 burrito size tortilla shells
2 cups Colby Jack Cheese (or whatever yummy blend you'd like)

Instructions:
1. Preheat the oven to 350 degrees. Grease a 9x13 pan. Brown the ground beef and drain. Add taco seasoning and 1 c water. Simmer for about 5 minutes. Add in the rice and stir it up real good!
2. Take the tortilla, spread a spoonful of refried beans on the tortilla. Spread 1/4 c of the meat mixture on top of that. Sprinkle with cheese and roll it up. Put the rolled tortilla seam side down into the 9x13 pan. Repeat until all your tortillas are gone- or the meat mix is gone.
3. Combine the cream of chicken soup and the jar of salsa in a bowl. Mix well. Pour the mix over the tortillas in the pan. Sprinkle with the remainder of the cheese.
4. Put the pan in the oven for 30 minutes or until the edges are slightly golden brown. Remove, cool and enjoy! I like to serve with a side of sour cream and sometimes extra salsa. YUM!

Notes: Ok, so I used to use an actual recipe for this, but now I just do my own thing...so I'm calling these mine. Really, they are easy and quick and ALWAYS get rave reviews. Plan on each person eating two enchiladas if you don't serve it with anything else.

Sunday, September 14, 2008

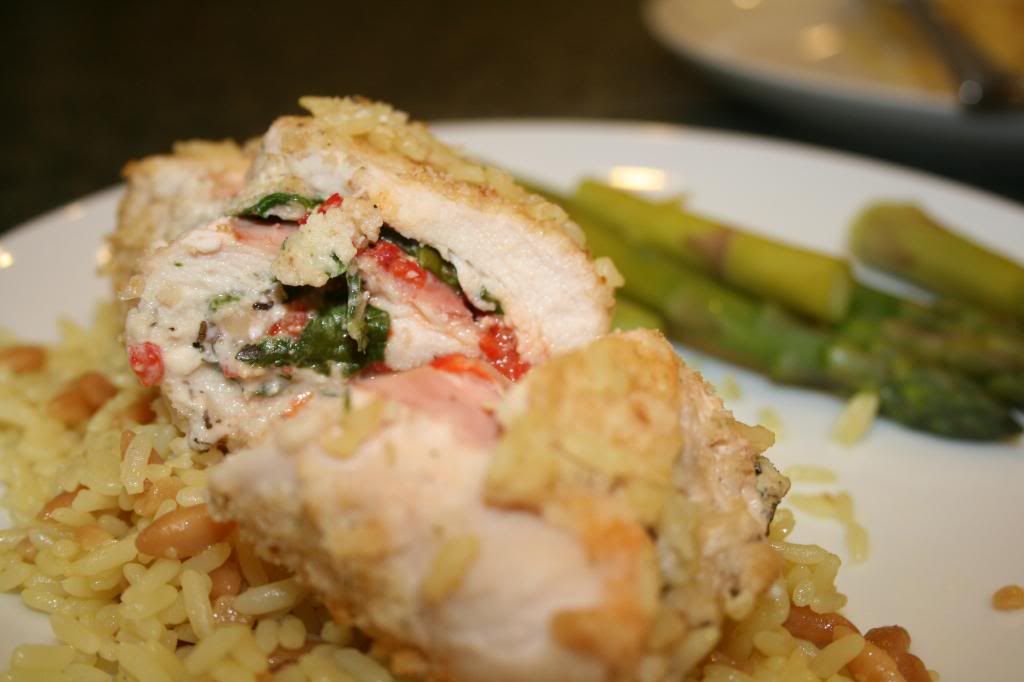
Elegant Chicken Rolls


Alright, yet another Pampered Chef recipe. I'm running out of new ones in my cookbook, but I'm not done yet! I was this > < close to just ordering pizza tonight, but I pushed on and decided to make these chicken rolls. I served them over rice pilaf with a side of steamed asparagus. These were really flavorful and I would definitely make them again...and again!

Ingredients:
6 boneless, skinless chicken breast halves (4-6 ounces each)
4 ounces cream cheese softened
4 ounces crumbled feta cheese
2 tbsp fresh basil leaves snipped
1/2 tsp coarsely ground black pepper
6 tbsp sweet roasted red peppers, drained, chopped
1 1/4 cups seasoned croutons, grated (1 cup crumbs)
1 egg
1 tbsp milk
12-18 large spinach leaves
6 ounces thinly sliced deli smoked ham

Instructions:
1. Preheat oven to 375 degrees. Butterfly cut each chicken breast half by inserting tip of knife into thickest side of chicken then cutting lengthwise through middle of breast, almost through to the other side. Spread chicken breast open flat. Place each chicken breast between 2 pieces of parchment paper. Flatten chicken to 1/4 inch alternating pounding and rolling.
2. In small mixing bowl, combine cream cheese, feta, basil and black pepper; set aside. Chop red peppers and drain on a paper towel. Grate croutons into a shallow bowl- if you have a cheese grater that works great. You can also just smash them in a plastic bag. Combine egg and milk in another small mixing bowl.
3. For each chicken roll, cover chicken breast with single layer of spinach rolls, about 2 tbsp of the cheese mix, 1 tbsp of the red peppers and then one slice of the ham. Roll up, jelly-roll fashion, tucking in ends when possible. (mine were too small, so I used a metal cooking pick to hold them together- worked great!)
4. Dip rolls in egg mixture; coat with crumbs. Place seam side down in a baking dish and bake for 35 minutes or until chicken is no longer pink and juices run clear.

Notes: I had some issues with cutting them butterfly style- I blame it on my chicken. It worked out fine though, I just ended up with smaller rolls. Also- it took mine more like 45 minutes in the oven. It might have been me just being paranoid about chicken, but I'm pretty sure it was still fairly pink at the 35 minute mark. Just keep an eye on it either way!

My Mom's Chili


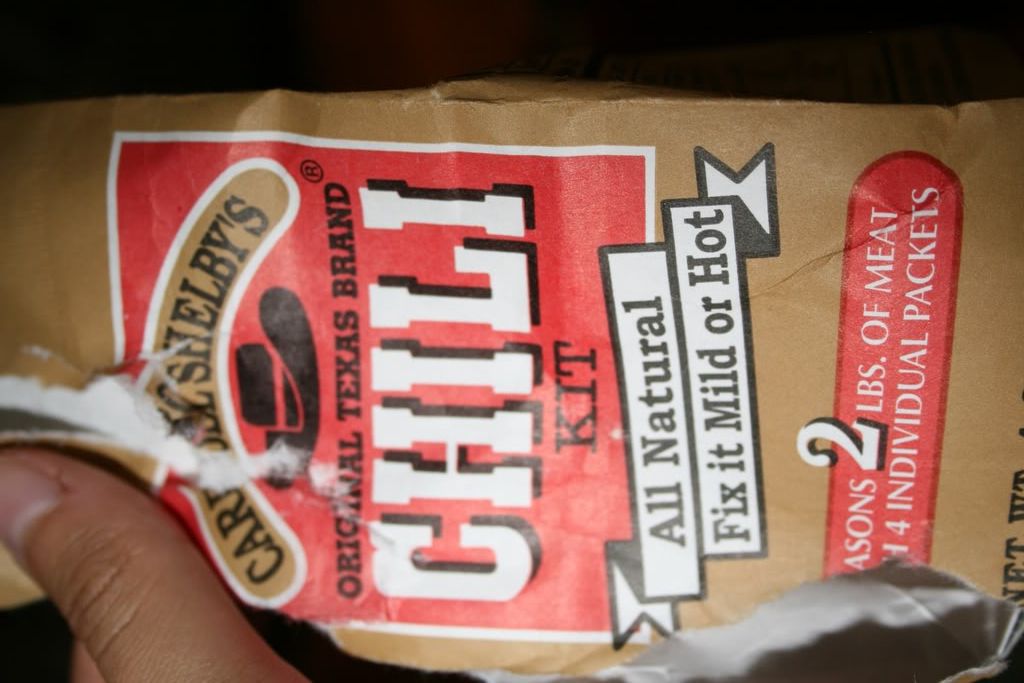
As a kid, one of my favorite fall/winter dinners was my mom's chili. She uses the seasoning kit pictured, but does it a little different than what the package states. Be warned though: this makes a crap ton of chili! You could easily cut this in half and still feed 6 hungry growing boys. We usually have leftovers for 3 days...(and we usually are sick of chili by day 2). It's alright though...this chili is worth the excess!

Ingredients:
1 Carroll Shelby's Original Texas Brand Chili Kit
1 large can of crushed tomatoes (like the 30 oz size) or two regular cans
1 can of tomato sauce
2 lbs ground beef
1 can of chili beans (size is to your discretion depending on your love of beans-I use one very large or 2 regular)

Instructions:
Brown ground beef in skillet and drain grease. Dump ground beef into stockpot (at medium heat) and add crushed tomatoes, tomato sauce and 1/2 can (15 oz) of water. Add in the chili seasoning packet (the big packet), the salt packet, and unless you want your tongue to literally fall off, just half of the cayenne powder. Mix all that together.
Next, fill the can 1/2 with water and add the masa packet (the white packet)and blend together. Add to the chili mix. Continue to stir and simmer for about 15-20 minutes. The chili will thicken up quite nicely, that's when you know it's done!

Notes: Can I really consider this homemade? Probably not. Could I create my own chili figuring out exactly which spices to use? Probably. Do I want to? Probably not. Honestly, this is the best hearty chili I've ever had, and you know me, I'm not one to mess with perfection :)

Thursday, September 11, 2008

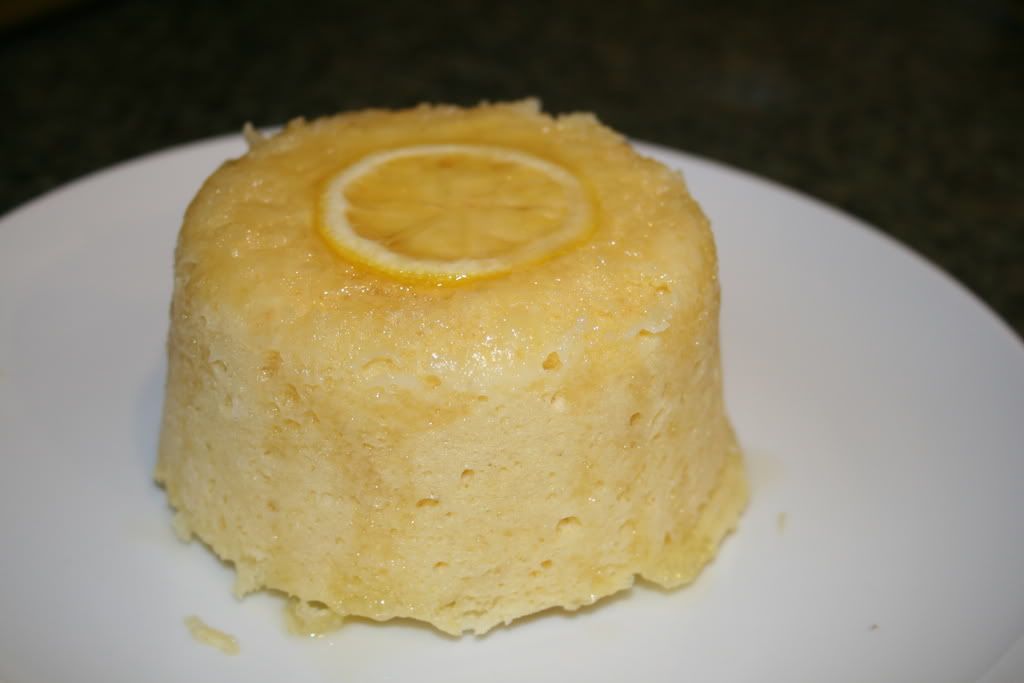
Mini Glazed Lemon Cakes


We skipped dessert last night...oh the horror! So tonight had to be better than a stale cookie. I picked this one out of the "Season's Best 2008 Spring/Summer" from Pampered chef.

Cakes
2 T butter, softened & divided
2 T sugar
2 small lemons, divided
1 pkg (9 oz.) yellow cake mix
1 egg
1 8 oz. container sour cream

Glaze
2 T lemon juice (from lemon used for cakes)
2 T butter
1/4 C sugar

1. For cakes, brush 6 Prep Bowls with 1 T butter; sprinkle with sugar. Thinly slice one of the lemons. Remove any seeds from the lemon slices and place one slice in the bottom of each bowl; set bowls aside.

2. Zest remaining lemon and measure 1 T of zest; set lemon aside for glaze. Place remaining 1 T butter into microwavable bowl; microwave on high 15-20 seconds or until melted. Add lemon zest, cake mix, egg, and sour cream; whisk 1 minute or until smooth (batter is pretty thick). Scoop batter evenly into prepared bowls. Place bowls in circle on microwave turntable. Microwave on high 4-5 minutes or until wooden pick inserted in centers comes out clean (cake still looks slightly wet). Carefully remove cakes from microwave; cool in bowls for 5 minutes.

3. Meanwhile, for glaze, juice reserved lemon to measure 2 T juice. Melt butter. Stir in lemon juice and sugar; microwave on high 30-60 seconds or until boiling.

4. To serve, gently tap sides of bowls to release cakes. Transfer to serving plates and drizzle glaze over cakes.

Notes: Ok, so this is the sitch. I had the precious 6 prep bowls this recipe refers to, but somewhere along the way, I've ended up with like 4...and 1 of them wasn't available. Time to improvise!! Since there was only two of us, I just split the batter between my two smallest pyrex bowls- my guess is they are about a 4 cup size. I also made the mistake of not realizing that a standard cake box is about 18 oz- not 9 oz. That changes a lot! ;) Anyway, I made it work and they were delicious.
Blog Widget by LinkWithin