Sunday, November 23, 2008

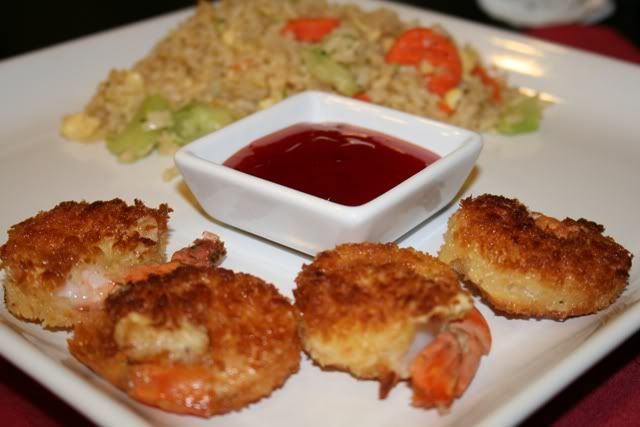
Panko Shrimp & Fried Rice


I found this Panko shrimp recipe on Savory Safari, and while she was daring enough to make her own sweet and sour sauce, we just settled for some yummy red La Choy sauce. So then I needed a fried rice recipe to go with it and found this one from Joelen's Culinary Adventures.

This has quickly become a favorite in our household. It's honestly better than going out to a restaurant.

Fried Rice:
1 cup leftover meats - pork, chicken, beef, seafood (I left this out, but added more veggies than it called for)
1-2 eggs
3-4 cloves minced garlic
1/2 onion finely diced
3-4 tablespoons vegetable oil
1 cup chopped vegetables (fresh or frozen)
salt & pepper to taste
1/2 tablespoon onion powder
1/2 tablespoon garlic powder
1-2 tablespoons light or dark soy sauce
1-2 cups prepared rice, cold (or day old)

In a hot skillet or wok, heat oil.
Add garlic and onions & stir.
Add leftover meats of your choice, chopped up in bite sized pieces.
Stir fry meats until you get them a bit crispy.
Push the meats aside and crack eggs into the pan.
Scramble the eggs into the pan until cooked.
Add cold rice over the eggs & meat into the pan, making sure to crumble it in your fingers. (Dumping a large chunk of rice is not going to work here. You need to crumble it so it separates nicely).
Add salt, pepper, onion & garlic powders and soy sauce; toss.
Allow the rice to heat up and absorb the spices and soy sauce, tossing to help it along.
Add the fresh or frozen veggies and toss into the rice.
Continue cooking it all on high heat until rice is heated through and veggies are cooked.

Panko Shrimp:

Canola oil to cook
Salt and black pepper, to taste
12 large shrimp, peeled and deveined
1 cup all-purpose flour, in a shallow dish
2 eggs, beaten, in a shallow dish
1 cup panko, in a shallow dish

Directions
1. Season the shrimp with salt and pepper. Dredge shrimp in flour, then egg, then panko.
2. Heat oil until shimmering and a sprinkling of flour sizzles and immediately dissolves. Fry shrimp until golden brown, about 3 to 4 minutes total, turning once. Drain on paper towels.

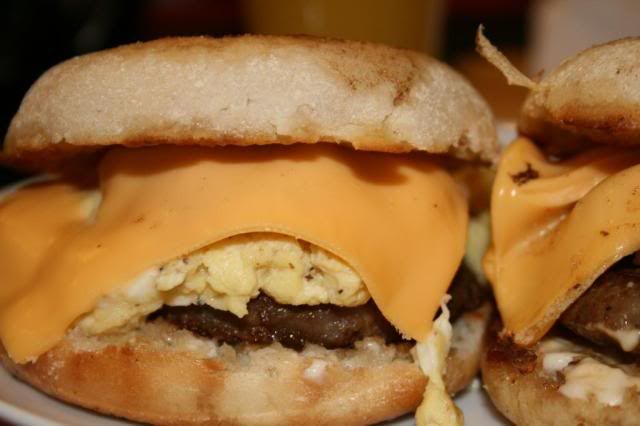
PW's Cowboy Breakfast Sandwich


So...I haven't updated in forever. No, I have not given up on cooking, but we have been trying to keep our new Coney Island in business. Anyway, stop yelling at me or I'll never update again! Here we go.....

Ok, so I saw Pioneer Woman make this breakfast sandwich, and it looked so good that I stopped on my way home from work to get the ingredients. I couldn't stop thinking about it...and so rather than waiting until morning, I made it for dinner! Then when Carl got home at the end of the week, I made them again for breakfast. We both LOVED them!

4 slices of Texas Toast (I used English Muffins)
2 Eggs
2 slices of Kraft Cheese
2 Breakfast Sausage Patties
Jarred Jalapeños
Milk
Mayo (I used Miracle Whip)
A whole lot of butter...mmmm

1. Start to warm up your griddle- either on the oven, or like I use, my stand alone griddle. Fry the sausage patties in a fry pan on the stove, smooshing while you cook them so they flatten a bit. Then set them aside- I put them on a plate and in the microwave so they stay warm. While the sausage is cooking, whisk your eggs with some milk, salt and pepper and set aside.
2. Put some butter on the griddle and fry up the jalapeños, set aside. Coat your griddle with butter again and put your bread or muffins on the griddle. While those are grilling up, pour your egg mixture into the sausage pan...sans sausage of course by now and fold the eggs as they cook. The key is to NOT scramble them but rather create more of an omelet format so you can layer it on the sandwich and it won't fall apart on you.
3. Finally...its time to layer!!! Remove your bread product from the griddle, smear on your Miracle Whip...or if you insist, regular mayo. Then put the sausage patty, layer with egg, top with jalapeños and a slice of good ol Kraft cheese and of course finally another piece of bread. Tada! Delicious breakfast- or if you just can't wait that long, dinner!

ENJOY!

Sunday, October 26, 2008

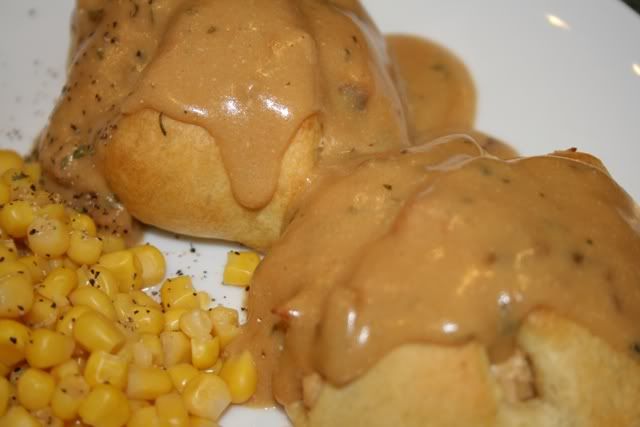
Cheli's Chicken Crescents


Another recipe I stole from Loves to Nom. I was alone...surprise...and wanted something fairly simple for dinner. I actually had all the items needed for this, so Cheli's Chicken Crescents it was!

Chicken Crescents
Serves 4

You will need:
Oil, cream cheese, chicken, onion, salt & pepper, garlic, cream of chicken soup, sour cream, milk, parsley, 8 count refrigerated crescent rolls.

1. In a fry pan, add a little oil and heat over medium. Take out a half a block (4 oz.) of cream cheese (reduced fat/fat free is fine) and put it in a medium bowl to soften.

2. Add 1 cup of diced onion (vidalia is my favorite) and about 2/3 pound chicken meat. I used tenders this time. Try not to move the chicken around much. Cook it for about 3-4 minutes on the first side and add salt and pepper. Then flip and repeat. When you flip, add a clove or two of minced garlic. I use the jar stuff because I am too lazy to mince/press it myself.

3. When chicken is done, remove from pan to a cutting board to cool slightly.

4. Preheat the oven to 350 degrees, or whatever it says on the crescent roll package.

5. Layout the crescent rolls on a baking sheet. (see picture)

6. Finely dice chicken mixture and add to the cream cheese in the bowl. Mix.

7. Spoon a large scoop of the mixture onto the fattest part of each crescent roll. Then fold up the short corners. Then fold up and wrap around the long corner. Don't worry if the chicken peeks out.

8. Pop in the oven per crescent roll directions (usually 11-13 minutes). They will probably be done in the shorter amount of time.

9. While baking, in a small saucepan over low heat combine the following:
3/4 can of cream of chicken soup
1/2 cup sour cream
Few splashes of milk
Palmful of dried parsley

10. When crescents are done, spoon some of the sour cream sauce onto a plate. Set 2 crescents on top of the sauce (it looks prettiest this way haha). Enjoy!

Notes: I have to admit, I felt this was lacking something. But when I mentioned to Shelly that I thought it needed some spice, she said everything she makes is spicy, and she needs to give Matt's stomach a break once in awhile. But it did make some wonderful lunch leftovers!

Making Meatballs Part II


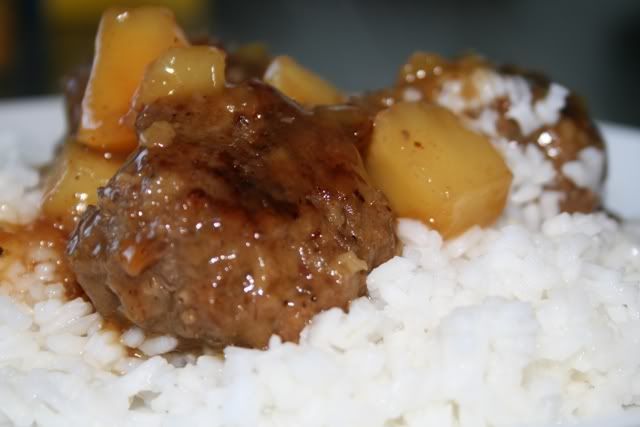
Today, we are making meatballs sweet and sour style. So as stated in Making Meatballs Part I, I doubled the recipe and froze half of the cooked meatballs. If you have an interest in both these recipes, I HIGHLY recommend doing this. The meatballs take awhile to make, but freeze very nicely. So...make the meatballs, or if you are a smart cookie...defrost them.

1lb hamburger
1/2 c bread crumbs
1/4 c milk
2 tbsp onion
1 tsp salt
1/2 tsp Worcestershire sauce
1 egg

Mix all the ingredients together in a large bowl. Create balls a little smaller than a golf ball. Cook over medium heat for about 20 minutes. Remove from pan and set aside.

Ok, so now let's get to the saucy part.

1/2 c packed brown sugar
1 tbsp cornstarch
1 can pineapple chunks
1/3 c vinegar
1 tbsp soy sauce

Mix brown sugar and cornstarch in skillet. Stir in pineapple with syrup, vinegar and soy sauce. Heat to boil stirring constantly. Reduce heat, add meatballs, cover and simmer stirring occasionally for 10 minutes.

Notes: SUPER YUM! Really, these are awesome. That's coming from the girl that doesn't like balls of meat. And the leftovers are just as good. I served this over a bed of rice...mmmm now I want these again.

Saturday, October 25, 2008

Making Meatballs Part I


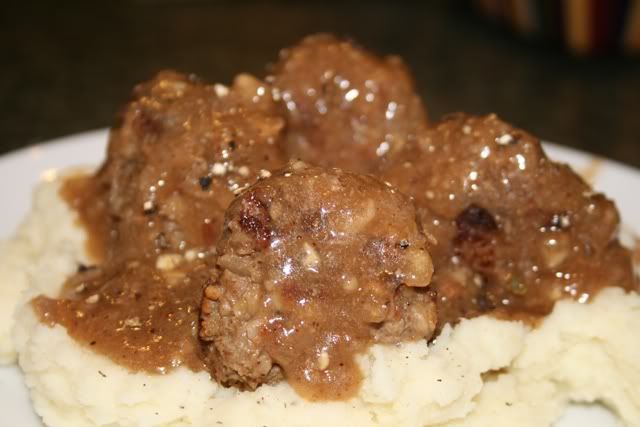
I made these so long ago, I honestly can't remember when it was. I was procrastinating posting it because well honestly, I didn't think they looked very nice. But gosh darnit...they were tasty! So a blog entry they rightfully deserve! This recipe is from my father-in-law, and while I'm not typically a fan of balls of meat, I do enjoy these.

Traditional Meatballs with Gravy

1lb hamburger
1/2 c bread crumbs
1/4 c milk
2 tbsp onion
1 tsp salt
1/2 tsp Worcestershire sauce
1 egg

Mix all the ingredients together in a large bowl. Create balls a little smaller than a golf ball. Cook over medium heat for about 20 minutes. Remove from pan and set aside.
Add about 1 cup of beef broth and 1 tbsp cornstarch. These amounts are approximate- but it is simply to make gravy- so just add until you get a consistency you like.

Notes: Ok- we doubled the recipe and froze half of the meatballs with our food saver...the next post shows what we did with them.

Tuesday, October 7, 2008

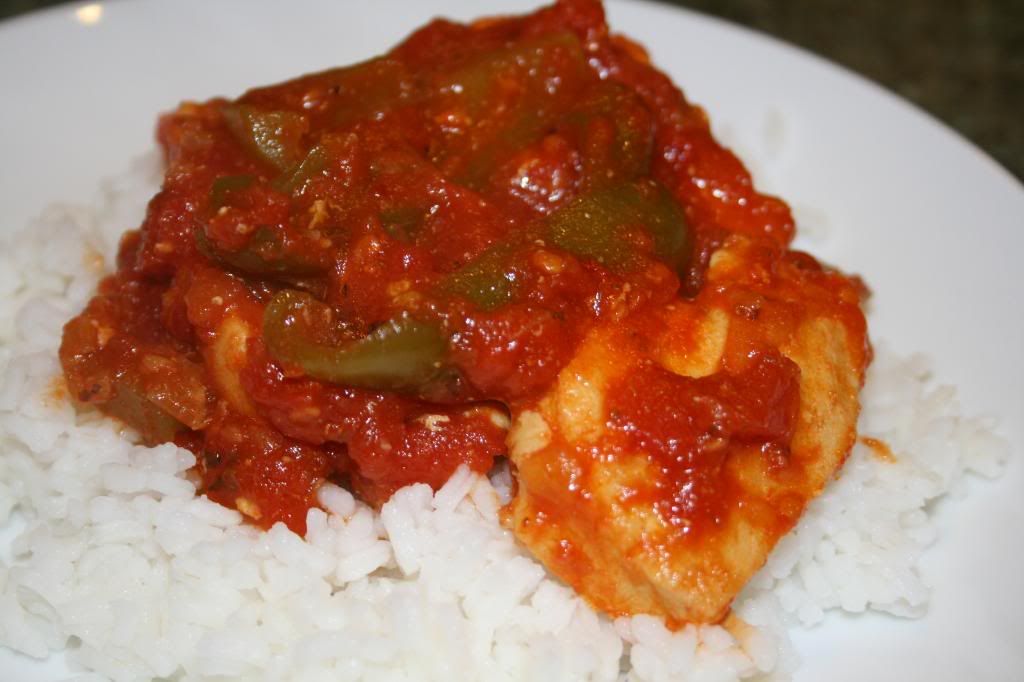
Chicken Cacciatore


I was alone for dinner tonight, but was sick of eating crappy food....so tonight I decided to actually cook for myself. My mom, the full-time worker/full-time house mom sometimes had to cut corners to save time. So her version of Chicken Cacciatore included a jar. I still loved it all the same, but for myself I wanted to try one from scratch. So I browsed Cooks.com and found this recipe. I have to say, it was pretty darn good! I scaled it down a bit since I only wanted enough for me tonight for dinner and tomorrow for leftovers- but I'll just give you the full recipe.

CHICKEN CACCIATORE

1 lb. boneless chicken
1/2 c. chopped onion
1 garlic clove, minced
2 tbsp. oil
1 (28 oz.) can tomatoes
1 (8 oz.) can tomato sauce
1/2 tsp. salt
1/2 tsp. oregano
1/2 tsp. basil
1/8 tsp. crushed red pepper
1 c. green pepper strips
1 1/2 c. rice

Cut chicken into strips; brown lightly with onion and garlic in oil. Drain off all oil and drippings. Add tomatoes, tomato sauce, seasonings and green pepper. Bring to a full boil. Turn down heat. Stir and simmer about 20 minutes. (Can simmer longer.) Make rice. Serve cacciatore over rice, or to side. Serve with vegetable and-or salad. Makes 4 servings.

My Notes: This was really good, although next time I think I'll use more paste than I did. I think I skimped a little too much, and I would have liked the consistency a little better if it were thicker. Otherwise- delicious!

Thursday, September 25, 2008

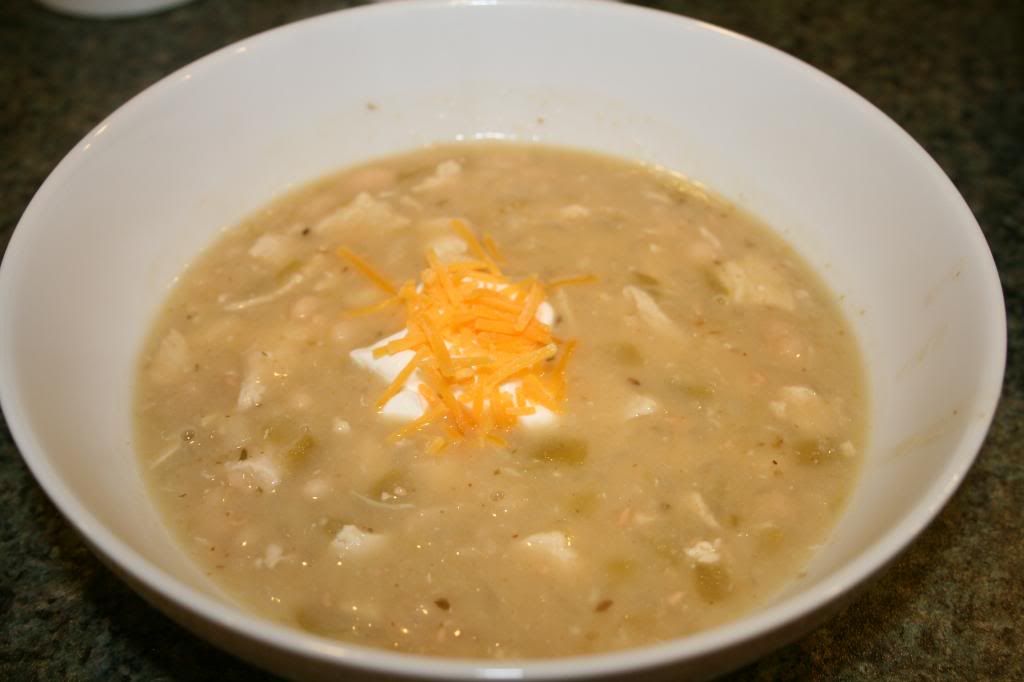
Big Carl's White Chicken Chili


Ok, so I actually made this on Monday (not that you care) to start off the "feel like home" week for Carl. I call his dad Big Carl, since they call my Carl, Little Carl. So "Big Carl's White Chicken Chili" it is! I'd say I hit the nail on the head with this one!

1 1/2 -2 pounds cooked boneless, skinless chicken- cubed (I just cook mine in a little water in a skillet)
2 14oz cans of chicken broth
1 480z can of white northern beans
2 c finely chopped whit onion
2 tbsp fresh minced garlic
1 small can chopped green chilis
2 tsp cumin (heap if you like it hot)
2 tsp oregano
1/4 tsp cayenne pepper (more if you like it hot)

Saute onions and garlic in 1 tbsp olive oil until onions are tender. Stir in the green chilis.

Mix all into big pot with the chicken. Heat until boiling, simmer for 10-15 minutes. The longer you cook it, the more tender the chicken will get.

My Notes: This is the perfect fall recipe! Drop a spoonful of sour cream and sprinkle with cheese for the ultimate flavor explosion! It makes enough to feed 6 adults easily. We had this two nights in a row and then I took the remainder to work and shared with a co-worker. He was also a huge fan. We will definitely make this again and again!
Blog Widget by LinkWithin