Monday, January 9, 2012

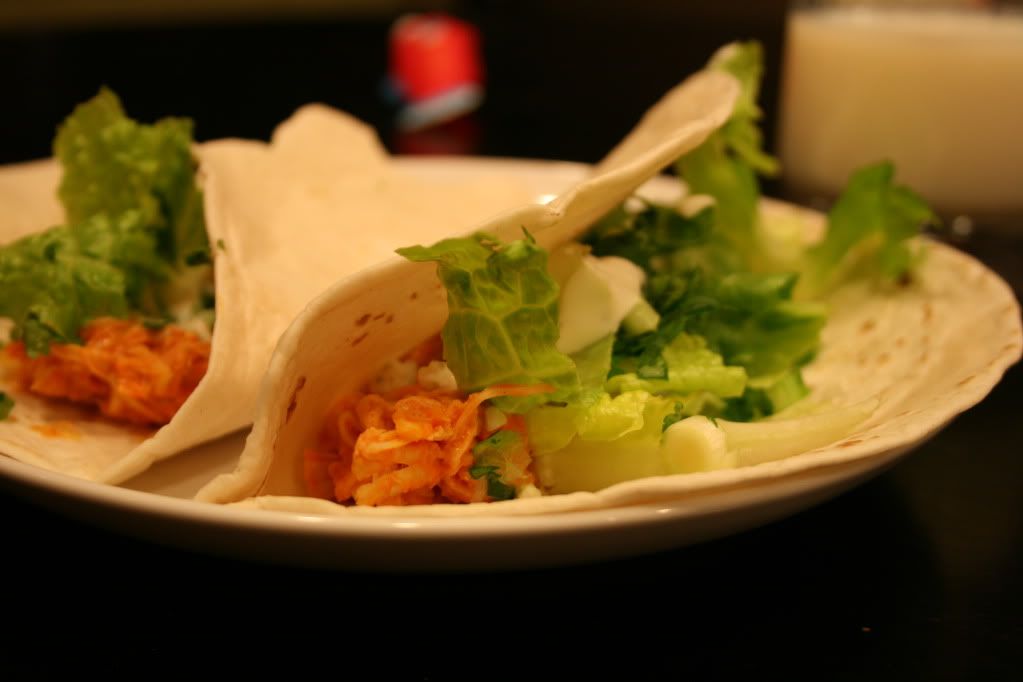
Slow Cooker Buffalo Chicken Wraps

I actually have made some new, yummy things the last couple months, but with the lack of natural light at dinner time, pictures are just about non-existent right now.

Exhibit A:

But even with no natural light and a crappy photo, this was worth blogging and when spring rolls around I'll update the post with a picture more worthy of this recipe. It's easy. Stupidly easy. It's so tasty. It will easily become a weekly meal for us. Much thanks to Mama G over at Growing Up Geeky for pointing me in the recipe's direction! I took that one and jazzed it up a bit, like the other Buffalo Chicken Wraps I've made in the past. But these ones are a bit healthier as there is no breading and it's not fried.

Ingredietns:
2 Large Chicken Breasts
1/2 c chicken broth
3/4 c buffalo sauce (I use Frank's Buffalo Sauce- you could easily use your favorite Buffalo Wild Wings sauce too!)
3/4 c ranch dressing
4 green onions, diced
1/4c cilantro, chopped finely
2 cups lettuce of your choosing, chopped
Blue Cheese Crumbles

Place chicken in a slow cooker and cover with broth. Cook on low for 6-7 hours or high for 4-5 hours. Remove the chicken, and shred with a fork. Discard the excess liquid. Put the chicken back in the slow cooker. Combine the buffalo sauce and 1/4c of the ranch dressing, stir into the chicken. Combine the green onions and cilantro in a small bowl.

Lastly , assemble the wraps- chicken, cheese, onion/cilantro mix, lettuce, and top with ranch dressing. You can also fry up the tortillas a bit. Heat a frying pan on med-high, spray with a bit of non-stick cooking spray and fry the tortillas one at a time for approximately 30 seconds a side.

adapted from Betty Crocker

Wednesday, November 9, 2011

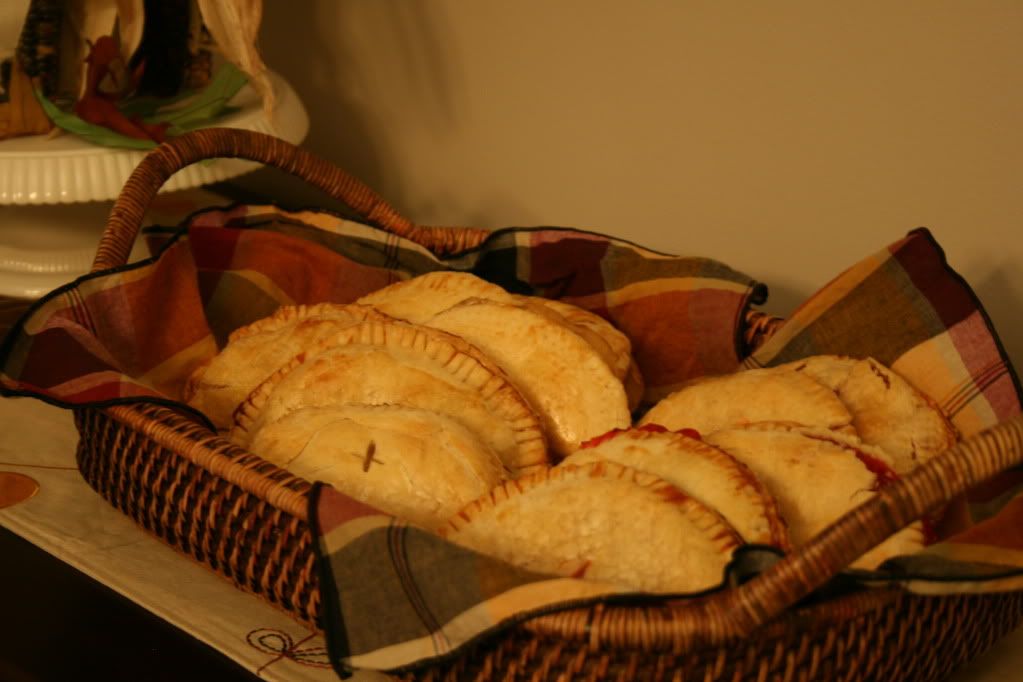
Cherry & Apple Handpies


This is totally a cheater recipe, but they look so cute and rustic that it's easy to look the other way when I say I did nothing from scratch. Of course, you can substitute any of your favorite homemade recipes for dough or pie filling, just follow the general guidelines.

Need:
  • 2 Rolls of refrigerated pie dough
  • 1 Can of Pie filling (I used apple and cherry)
  • 1 egg yolk
  • 1 Tbsp water
  • Crystal Sugar

Do:
  1. Using very cold dough, unroll the dough and cut out six, circles, approximately 6 inches in diameter. I used a medium sized Pyrex bowl- works perfectly. You will have to re-roll the dough since you can only get 2 circles at a time from a 9 inch crust.
  2. Place 2 Tbsp of pie filling in the center of each circle.
  3. Whisk together the egg and water, and brush the mixture on the edges of the pie crust.
  4. Prepare your egg wash by whisking together the egg yolk with a tablespoon of water. Brush egg wash on edge of dough circles, fold filled dough in half and seal the edges with a fork.
  5. Chill hand pies for at least 30 minutes before baking.
  6. Preheat oven to 375 degrees F.
  7. Remove pies from refrigerator and brush with remaining egg wash. Sprinkle on crystal sugar and cut a small slit in the top of each pie to let out steam.
  8. Bake about 20-25 minutes. When done, pies should be golden brown and flaky.
  9. Cool to room temperature before serving. Store in an airtight container at room temperature.

Yield 6 Handpies

Adapted From

I'm linking up with The How To Mommy for Tasty Thursday!

Sunday, October 30, 2011

Simple Apple Pancakes


This is another one of those "hardly a recipe" type deals. I've made apple pancakes before, but not quite like this. This one just seems genius. I spotted it on...wait for it...Pinterest. The Holy Grail. Anyway, it's simple.

1. Peel, core and slice an apple. I use an apple corer peeler slicer :)
2. Mix up your favorite pancake batter and heat up your griddle.
3. Dip the individual apple slices right into the batter and place them on the hot griddle.
4. Cook as you would a pancake.
5. Enjoy.

Monday, October 24, 2011

Crispy Chicken Over Creamy Pasta


I found this recipe over at Jamie Cooks It Up. I was intrigued by the new Philly Cooking Cremes, but the only review I had heard was a bad one. This recipe sounded tasty, and I wanted to give it a try myself. I was nervous, but there was no need to be. It was delicious and fairly simple to pull together for a weeknight meal. I'll definitely make it again and am interested in trying some of the other Cooking Cremes too!


Time: 45 minutes
Yield: 6 servings
Recipe from Jamie Cooks It Up!

3 large chicken breasts

5 C corn flakes
3/4 C flour
1/2 t salt
1/2 C milk
6 T olive oil
1 12 oz package bowtie noodles (farfalle)

Sauce:
1 10 oz container Philadelphia Cooking Cream (Italian Cheese and Herb Flavor)
2 cans cream of chicken soup
1 C chicken broth
1/2 C milk
fresh parsley, chopped (optional)

1. In a small food processor crush the corn flakes into crumbs.
2. Add the 1/2 t salt to the 3/4 C flour. Stir to combine.
3. Place the flour, milk and crushed cornflakes each into their own separate pan. Loaf pans work well for this. If you don't have three loaf pans, do not dismay. You could use pie tins, or round cake pans...what ever works for you.
4. Place your chicken breasts in a gallon sized Ziploc bag and seal the top.
Pound the chicken flat with a meat mallet. You will really be thankful for the Ziploc bag in this step. Who wants a bunch of chicken guts flying around their kitchen? Not me...that's who.
5. Take a pair of sharp kitchen scissors and cut each breast in half.
6. Dredge the chicken in the flour. Be sure it gets covered on both sides.
Lay the floured chicken onto a small cookie sheet and slide the sheet into the freezer. Let it hang out there for about 5 minutes.
7. Start cooking your pasta.
8. Remove the chicken from the freezer and dredge each piece in the milkand then immediately into the corn flake crumbs. Again, be sure both sides are covered well.
9. Add the olive oil to a hot skillet.
10. Carefully lay each chicken piece into the hot oil. Sprinkle with a little bit of salt and pepper. Cook over medium high heat for about 5 minutes....
or until the underside of each piece is nice and golden brown. Turn the pieces over. If the bottom of the pan is dry add just a bit more olive oil to the side of the pan. Swirl the pan around a bit to let the oil flow to all sides.
11. Cover the pan and reduce the heat to medium. Let the chicken cook for about 7 more minutes, being careful not to burn the bottoms. Burned bottoms are not advised. In any shape or form. Thank you.
12. When your chicken has been cooked through remove it from the pan and place it on a plate. Cover with tin foil.
13. Into the same pan pour your broth. Philly Cooking Creme, Cream of Chicken, and milk. Whisk the sauce around and let it get all warm and bubbly. Should only take about 3 minutes.
14. Slice your chicken into strips and serve over your cooked pasta and sauce. Garnish with chopped parsley if you choose.
Enjoy

Tuesday, October 18, 2011

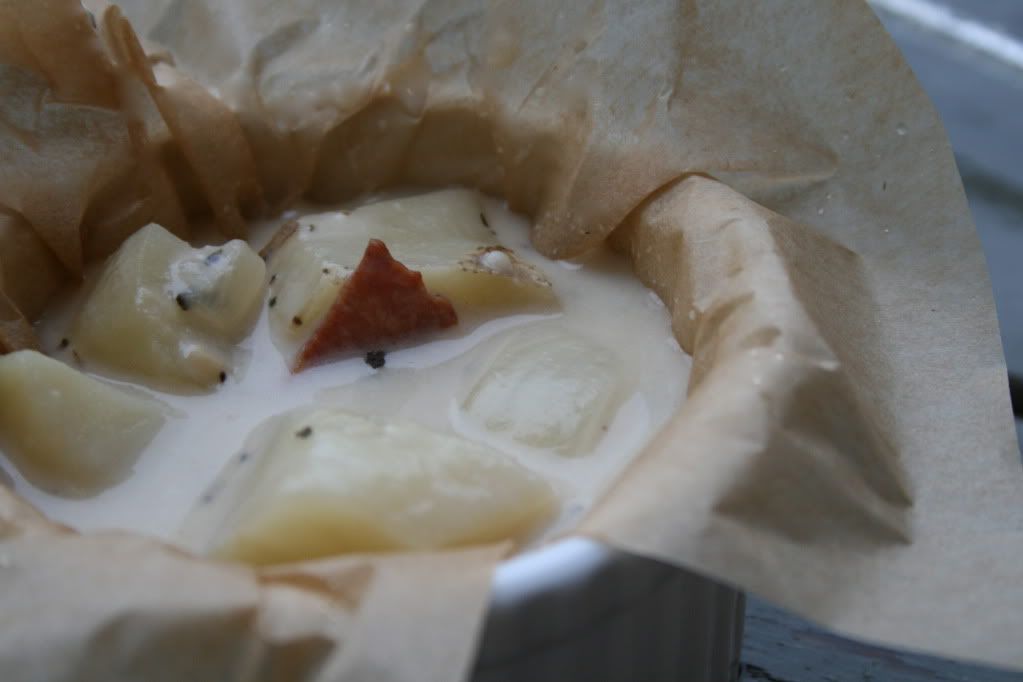
Baked Potato Soup


This isn't the first time I've made this recipe. It isn't even the second. It might be the third. I can't remember. Anyway, I've made it quite a few times, and every single time, Carl gets disappointed when it's gone. You might think, "Well gee Molly, just make a double batch!" And to that I'd say I was already ahead of you, and I make triple batches :/ It's delicious. It's the perfect soup for these cool fall days and I, too, get sad when it is all gone!

I've adapted a bit since that original recipe, so these are actually my instructions.

Ingredients

  • 3 turkey bacon strips, diced
  • 1 small onion, chopped
  • 2 cloves garlic, minced
  • 3-4 tablespoons all-purpose flour (more if you like it thick, less if you like it thinner)
  • 1 teaspoon Kosher salt
  • 1 teaspoon dried basil
  • 1/2 teaspoon pepper
  • 3 cups chicken broth
  • 2 large baked potatoes, peeled and cubed
  • 1 cup half-and-half cream
  • 1 teaspoon hot pepper sauce
Optional (I don't use the following, I'm more of a purist :) )
  • Shredded Cheddar cheese
  • Minced fresh parsley

Directions

  1. In a stockpot, cook bacon until crisp (I spray my pan with a little cooking spray since the Turkey Bacon doesn't produce grease). Set bacon aside. Saute onion and garlic in the same pot until tender. Stir in flour, salt, basil and pepper; mix well. Gradually add broth. Bring to boil; boil and stir for 2 minutes. Add the potatoes, cream and hot pepper sauce; heat through but do not boil. I add the bacon in at this point and stir, but you can also just top the soup with the crispy bacon.
P.S. I apparently cannot photograph potato soup. I promise, I tried. Twice. I gave up.

Tuesday, September 27, 2011

Buffalo Chicken Tacos


We're 2 for 2 this week folks. Another one that's hitting the regular rotation list. I spotted these on Foodgawker thanks to Mrs. Regueiro's Plate. I modified it just slightly, but I'll note what I did differently below in purple. Both Carl and I loved these, and it was a quick process. This is a great weeknight dinner!

Ingredients:
  • 1 pound chicken breasts, skinless, boneless, cut into 1 inch pieces
  • ⅓ cup flour
  • 3 tablespoon cornstarch
  • ⅛ teaspoon cayenne pepper
  • 1 teaspoon garlic powder
  • ⅓ cup buffalo wing sauce (Frank’s Buffalo Wing) , plus extra for garnishment
  • 1 Tablespoon olive oil
  • 10 6-inch yellow corn tortillas
Toppings:
  • Shredded butter Lettuce
  • Diced onions mixed with cilantro- 1 small onion with about 2 Tbsp of chopped cilantro
  • Avocado slices- I omitted
  • Ranch dressing
  • Green onions, sliced thinly
  • Blue Cheese Crumbles- how do you not have blue cheese with buffalo?? You don't! :)


Preparation:


Heat a large Dutch oven over medium-high heat.


In a large bowl, combine cornstarch, flour, cayenne, and garlic powder. Season the chicken pieces with pepper, then dredge in the flour mixture.


Add 1 tablespoon of olive oil to the Dutch oven and once it gets hot, add chicken and cook on both sides – about 3 to 4 minutes per side. Once the chicken is done, set it aside in a bowl and toss with ⅓ cup buffalo wing sauce.

Use the skillet from the chicken and fry up the tortillas on medium for about 10 seconds a side.

Assemble 10 tacos, dividing the toppings evenly among each taco.


Monday, September 26, 2011

Chopped Autumn Salad


You know when you find a recipe, and you think "Oh my goodness, I'm making this every night!"? Yeah, that happened tonight. I won't actually be making it every night, but it most certainly will be making it's way into our regular rotation.

Little story before we get to the recipe though, you can skip it if you don't like reading. I don't mind. Something really weird happened with this recipe/website. When I meal planned on Friday, it included chicken. But today, when I went to make it, gasp, no chicken. My dinner went from a main dish to a side dish, poof! :/ Oops. But no fear! I just sauteed a chicken breast seasoned with salt, pepper and garlic, sliced it and laid it on top. We'll call that a main course. Delish! (I'm still trying to figure out how I thought there was chicken in this salad...)

Ingredients
*6 to 8 cups chopped romaine lettuce
*2 medium pears, chopped
*1 cup dried cranberries
*1 cup chopped pecans
*8 slices thick-cut bacon, crisp-cooked and crumbled
*4 to 6 oz. feta cheese, crumbled
*Poppy seed Salad Dressing (I like T. Marzetti)
*Balsamic Vinaigrette (I like Newman's Own Light Balsamic Vinaigrette)

Instructions
*On a large platter, combine the lettuce, pears, cranberries, pecans, bacon and feta cheese. Drizzle generously with poppy seed dressing, followed by some of the balsamic vinaigrette. (I would estimate that I used about a cup of dressing: 70 percent poppy seed dressing and 30 percent balsamic vinaigrette) If you prefer your salad to have more dressing, feel free to experiment with the combination.

*I did not edit any of the recipe write up from the original source, however, I agree with all that she said. The only difference was that I only needed about 3/4 cup of dressing- 1/4 balsamic and 1/2 poppy seed. I also swapped dried cherries and walnuts in, just because that's what we usually use and had on hand. The chicken was most certainly a welcome addition, but it's delicious either way. I used 8 cups of romaine, and there was enough for 4 entree sized salads.
Blog Widget by LinkWithin